Speeding up the Android Virtual Device part 1: using Geanymotion!
Hello everybody,
Today we’ll discuss virtualization. We will see how to speed up your development on Android, and more particularly, how to boost the virtual devices used by the Android ADT studio.
This is an article I wanted to write for a while. Using the default virtual devices can be quite a pain, particularly with two major points:
-
First, the launch of the virtual device could take minutes. If you are like me, you close your virtual device anytime just because there is a continuous war between your hand and your brain when your eye sees that little red cross which says: “I can close windows”. You have to wait minutes each time you launch again the virtual device, letting you minutes to meditate on the meaning of life. Too dangerous, definitely.
-
Second, when the debugger is plugged on the application running on the virtual device, it highly impacts the average speed. Provoking a phenomenon called, the “diapositive mode”.
This mini series will talk about two tools to improve the speed of the Android Virtual Devices (AVD):
- Part 1: Genymotion: this is the current article
- Part 2: Intel HAXM: the next article here.

NOTE: In this tutorial, we’ll use the official Android ADT Studio that you can find here. (I really like this bundle, it contains obviously the Android SDK, but also Eclipse, and several useful plugins for instance Git. No installation is required, all is ready to rumble from the pack. So just get it!)
Once it’s unzipped and ready to be launched, we are ready to install Genymotion.
Genymotion
Genymobile is a French startup. Their main product, Genymotion, proposes a clever approach to the problem. It is a set of virtualized machines using Oracle VM Virtualbox (or just “VirtualBox”) as backend. Each “virtual device” used in Genymotion is in fact an android image built by the Genymobile Team and running on the host OS in a standard VirtualBox.
Downloading and installing it.
-
First, you have to get VirtualBox. You can find it on the official download page, and install it using the standard procedure of 99.9% of the software of the universe (just spam the “next” button).
-
Genymotion can be downloaded on the Genymotion shop. At this moment, four flavors of the license are used in Genymotion:
- Free: with a limited set of included features, but for an unlimited time.
- Trial: is free with all the standard features included, but for two weeks.
- Indie: (99€+taxes) with all the standard features, for one year.
- Business: (299€+taxes) all the standard features plus a “Premium support” for one year.
For the tutorial, we’ll use the free version, but you can try the trial one in order to try some features. From my point of view the screencast and the remote control multitouch functionalities are the most interesting.
In order to download the Genymotion product, you have to register a Genymotion account (it’s a standard account, and it only needs an email).
- Next, you have to register for Genymotion, check your email, log in the Genymotion shop, download it, and install it.
Running a new Virtual Device.
-
Once it’s installed, launch it. The main interface is pretty neat.
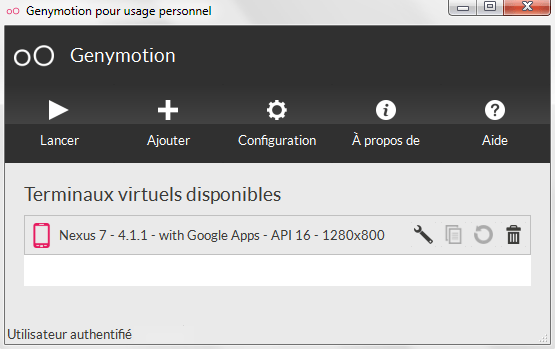 The main interface
 -
Right after the launch, a new window appears to add a new device. You will need to enter your logins by clicking the “connect” button.
 The virtual device creation interface
 - Select a device in the device list, for instance, the Nexus7 - 4.4.2 - API 19, go next, give it a name, and validate.
- The virtual device begins to be downloaded and installed. It’s now fully functional and already blazing fast.
- Play a bit with the interface and the buttons, on the right side, to explore the widgets.
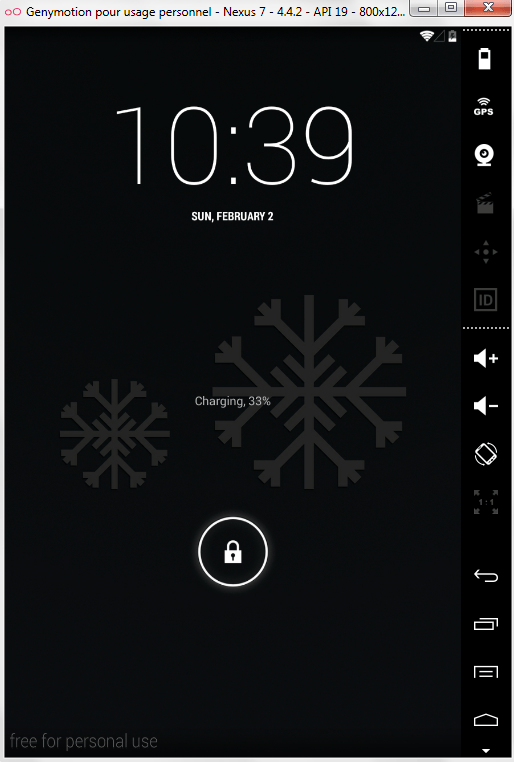 Genymotion device launched
Now it’s time to integrate it with ADT.
- Launch Eclipse and go to “Help > Install New Software”.
- Add a new repository by clicking the “Add” button. Set the following URL:
- name: genymotion
- location: http://plugins.genymotion.com/eclipse
- Validate and wait for the tree to populate, it should only contain “Genymobile > Genymotion Eclipse Tools”. Install it (Eclipse may warn you about the signature of the plugin, just continue the installation) then let Eclipse/ADT reboot.
Okay, now Eclipse has rebooted, do you feel the difference? Not yet? Did you notice the difference? Better, right? No? Hmm, maybe you should focus on this tiny little button of 12x16 pixels. This one.
 The Genymotion Virtual Device Manager button
- In this new Genymotion virtual device manager, select the previously created virtual device, and press “start”. The device should be launched.
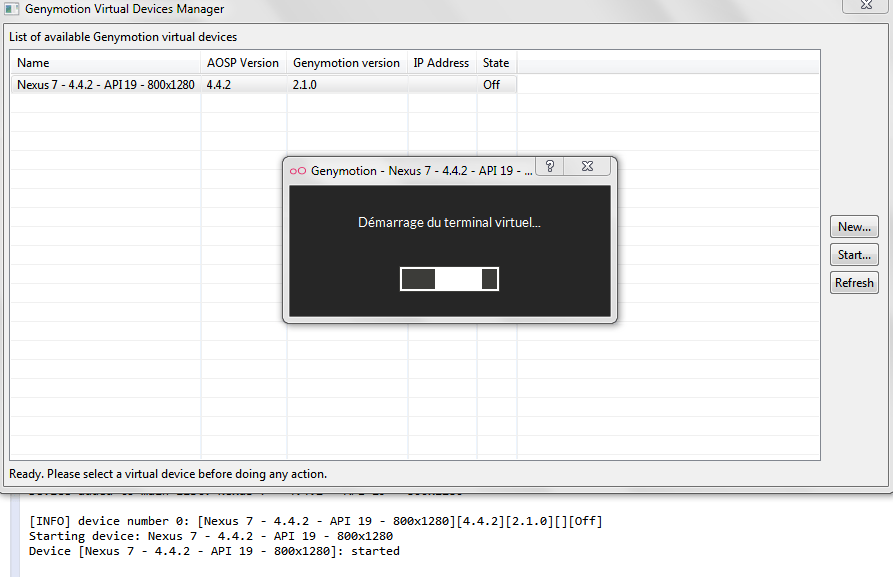 Launching the new Genymotion virtual device
Now you are nearly ready. Select your Android project and run it. It should be deployed on the Genymotion device. You can now have access to the ADB and your breakpoints. And, it’s fast! Brilliant.
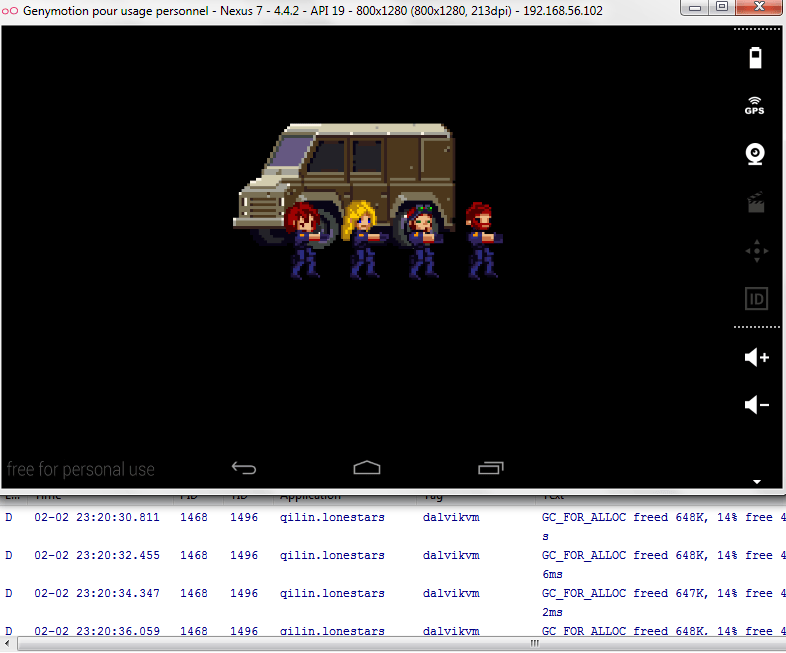 Debugging on Genymotion
To finish with Genymotion you can find all these instructions and more on their documentation page.
That’s all for today. Expecting you enjoyed this tutorials, in the next article we’ll se how Intel HAXM compares. Feel free to reach me to give your opinion on this piece of advice.
See you.